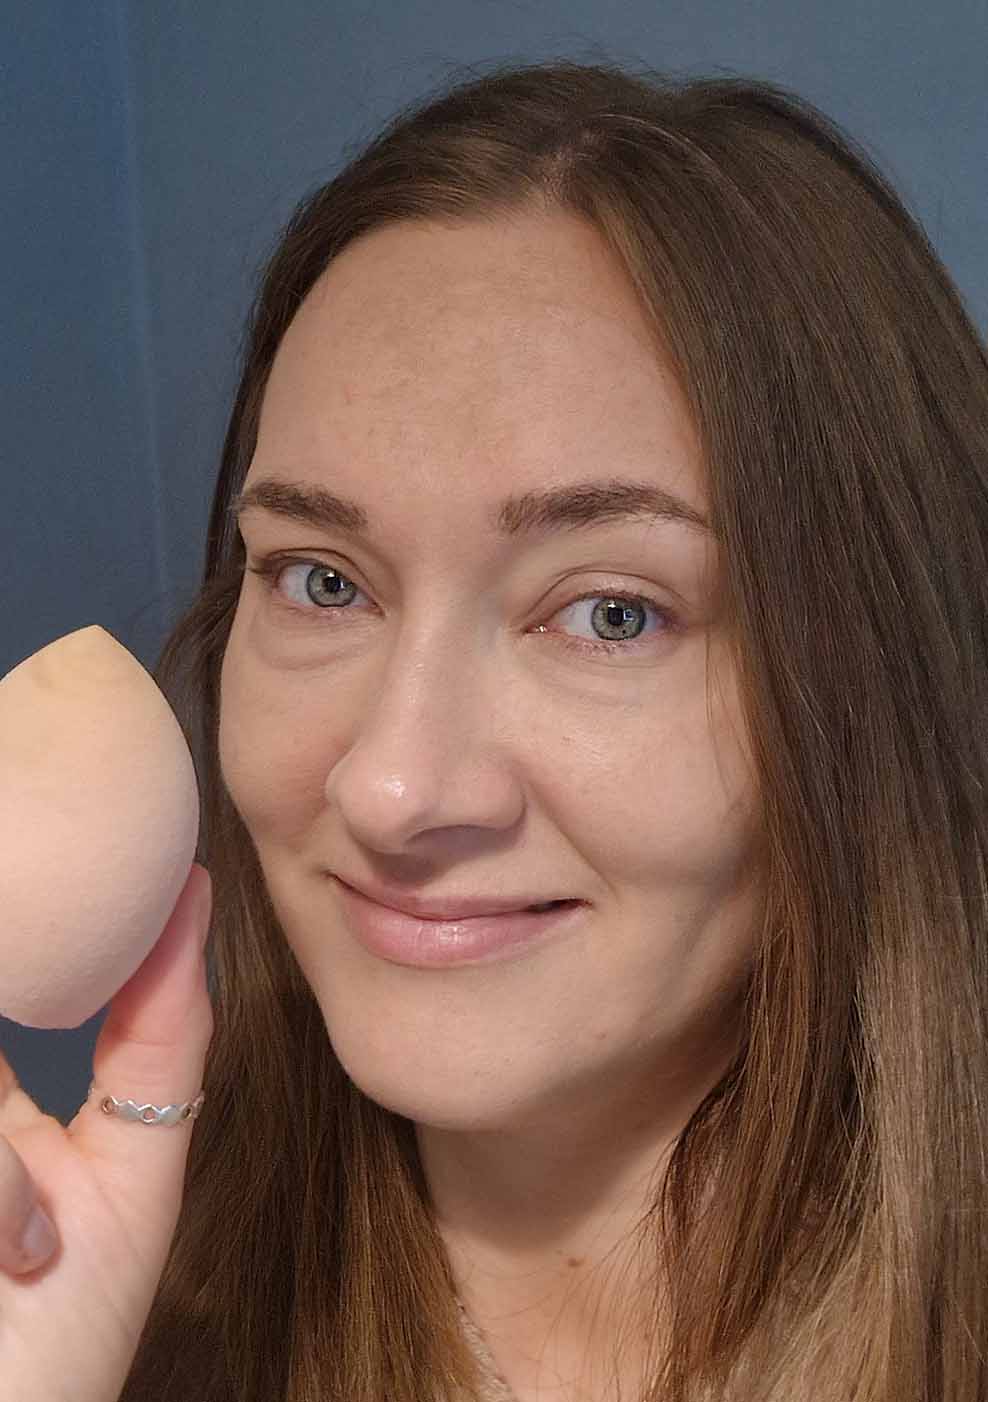
I’ve been obsessed with makeup since my teens and have worn lots of different foundations for over 20 years (don’t do the maths). Here are my top tips on the coverage differences between using a brush vs blender when applying your foundation!
I have an oily t-zone and dryness around my nose. When wearing foundation, I generally don’t wear any if I’m at home. I wear a light amount if I’m nipping to the shops or out to see a friend. I go heavy if I’m out all day (to make sure it lasts) or if I’m going out for a night out.
I tend to go between a brush vs blender sporadically. It also depends on what’s clean. I clean my brushes and blenders often – at least once a week with ISOclean, so I use the alternative when things are drying.
Brush vs Blender – what are the differences in the finish?
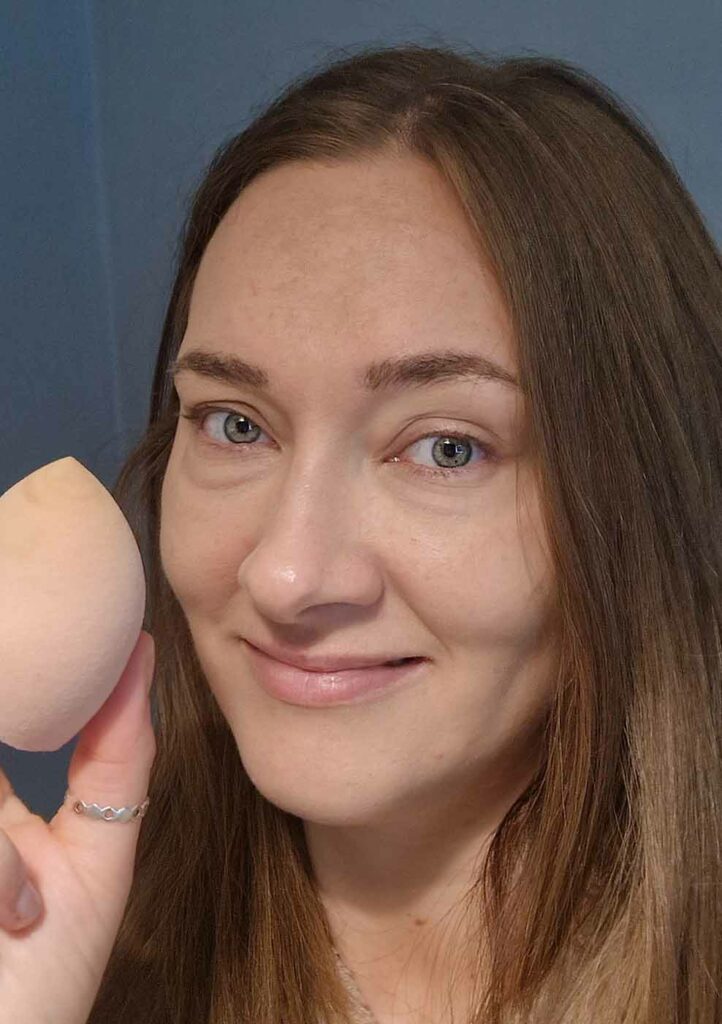
I’m currently liking using a beauty blender as I’ve opted for a lighter finish recently. The blender tends to soak up more of the foundation than a brush, which helps when using the brush to get a heavier finish and more coverage.
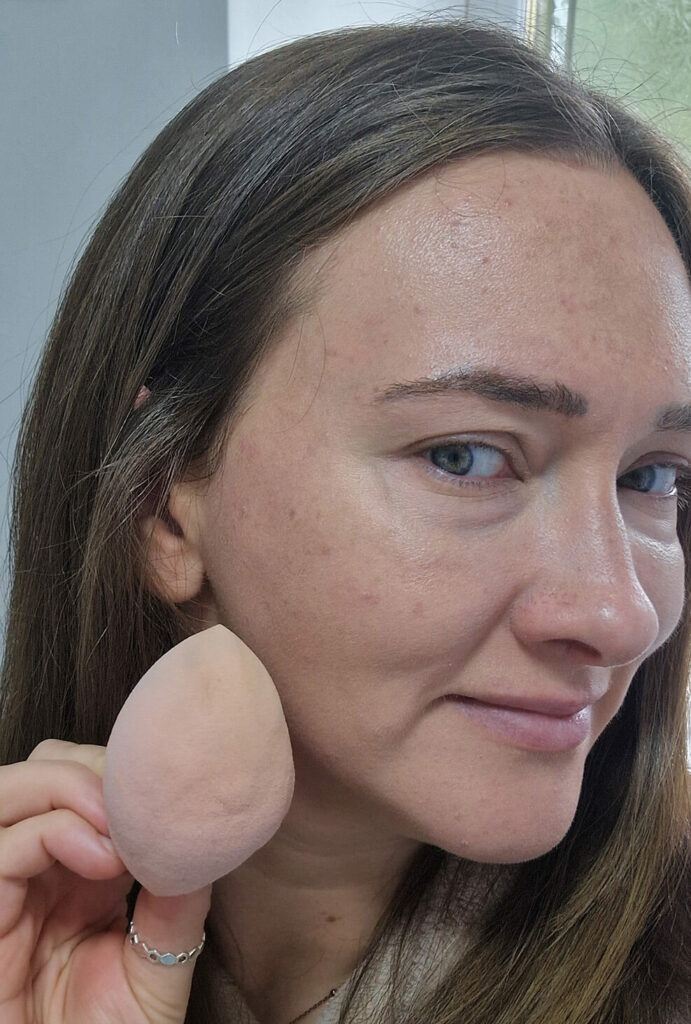
I always wet through and then dry the beauty blender, which allows the foundation to glide on my skin. If the blender is dry, it takes forever to use, and the coverage isn’t as good.
In comparison when using a brush, the foundation tends to sit on top of my skin instead of soaking in. This helps you achieve a heavier look with more coverage.
Which should I use?
I’d recommend using both and finding out for yourself. It’s easy for me to say which I prefer, which is either depending on how I’m feeling and what coverage I want.
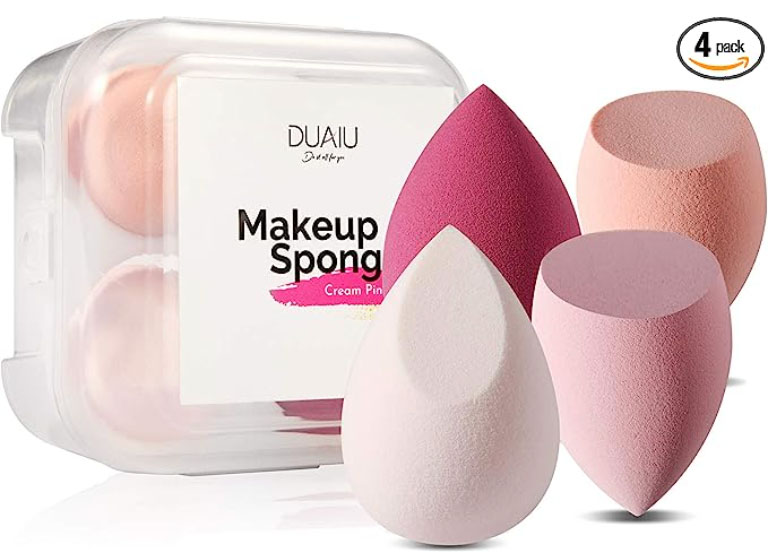
Beauty blenders are super cheap. I use these: you get 4 sponges from Amazon for £5 £3.99!
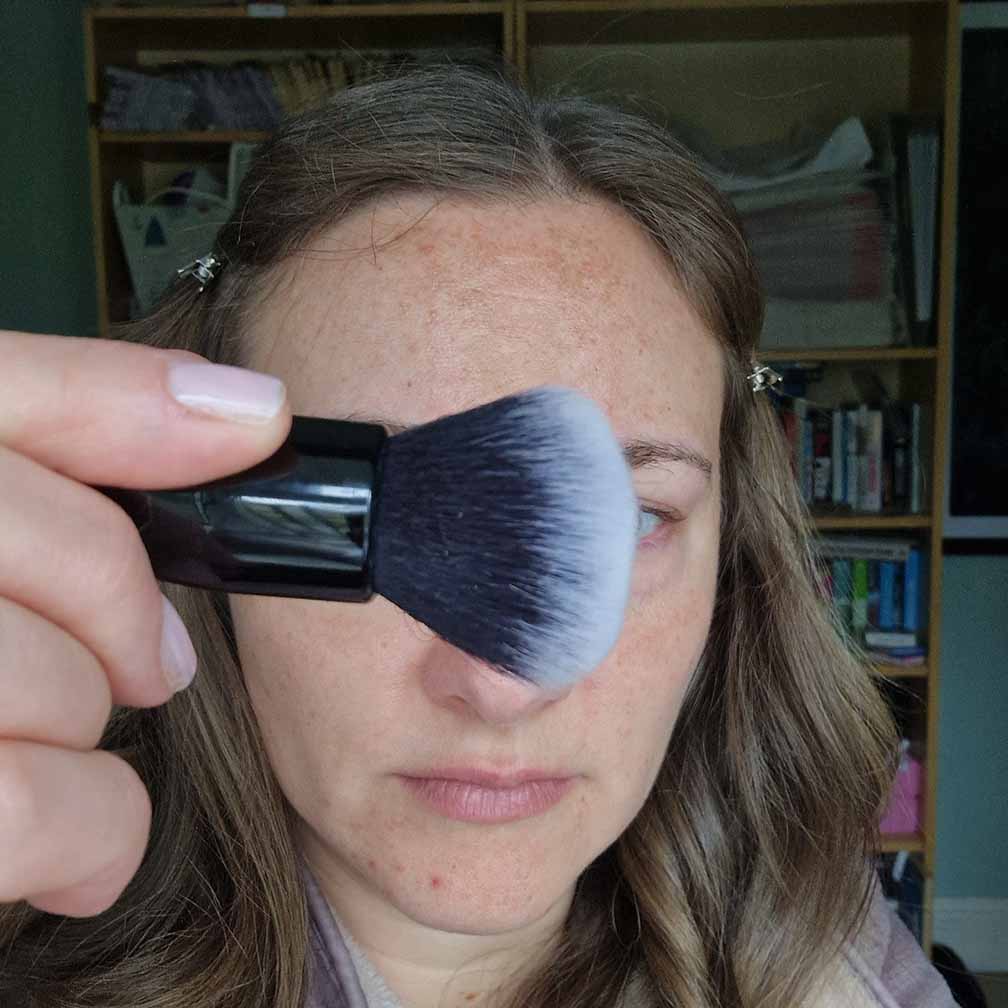
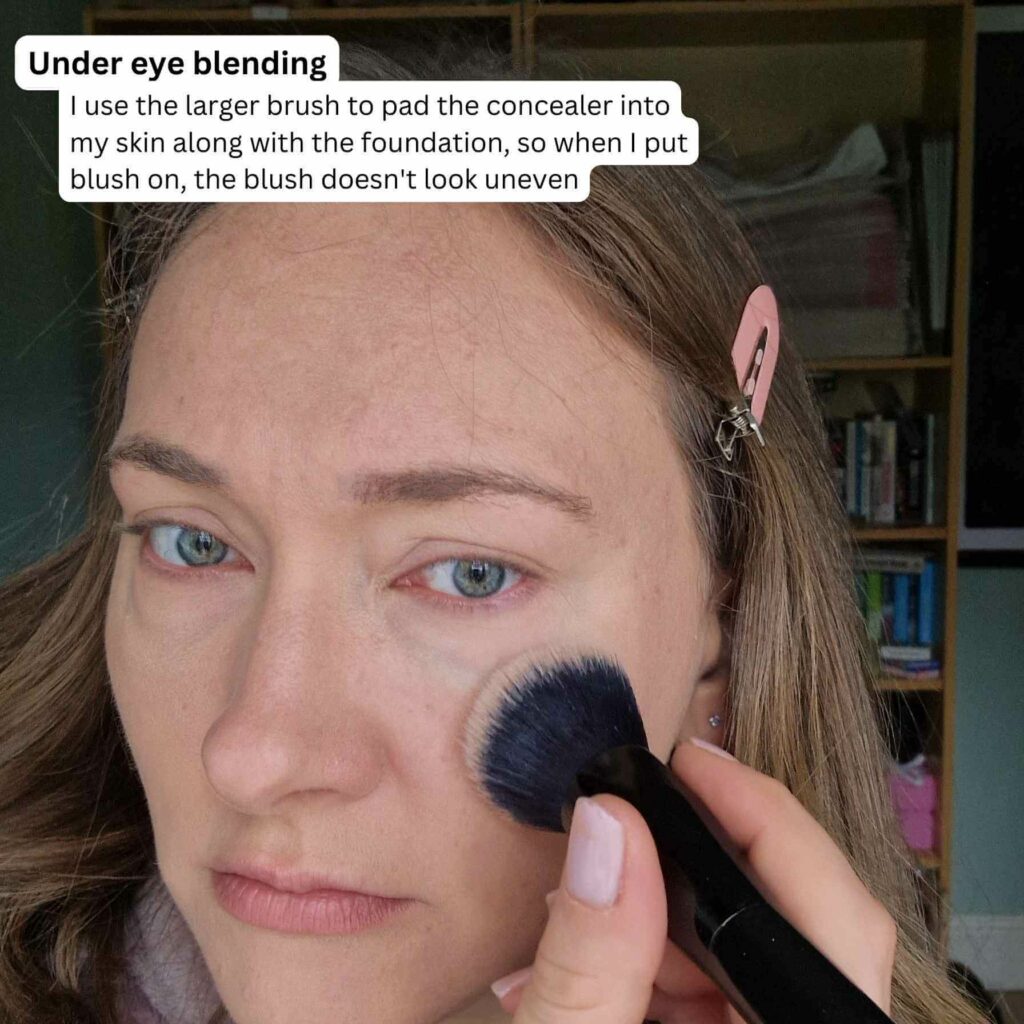
Brushes are more expensive, but they last years. I use Il Makiage’s 100 ‘blending brush’ which is £38 (use ‘welcome10’ for 10% off) which is the best foundation brush I’ve used. It’s dense but soft, allowing you to buff and pat the foundation into the skin for a glowy finish.
Another benefit to a beauty blender is that you can use the same one for concealer as well as foundation and powder. I don’t do this with brushes; I have one for each foundation, concealer and powder, which takes up more space if I’m travelling. I can take a blender in my bag on a day trip to touch up foundation, concealer and powder which saves room.
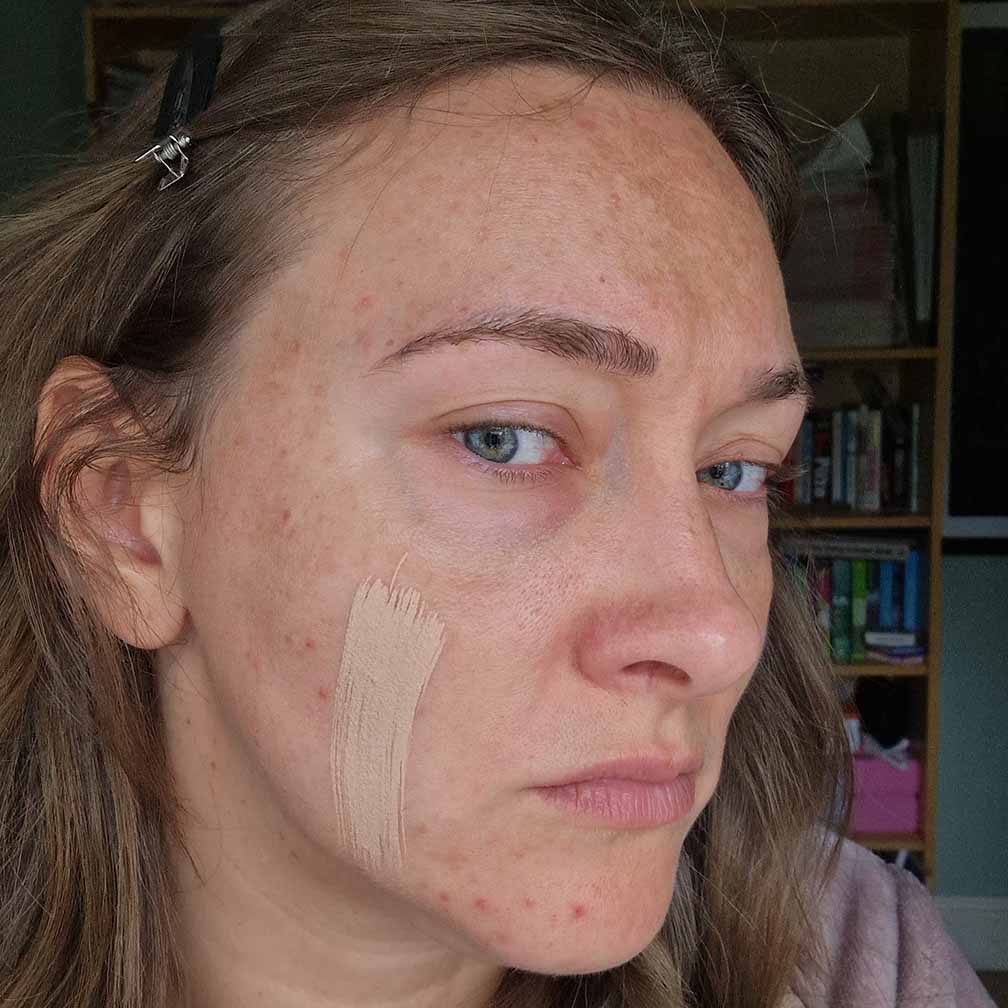
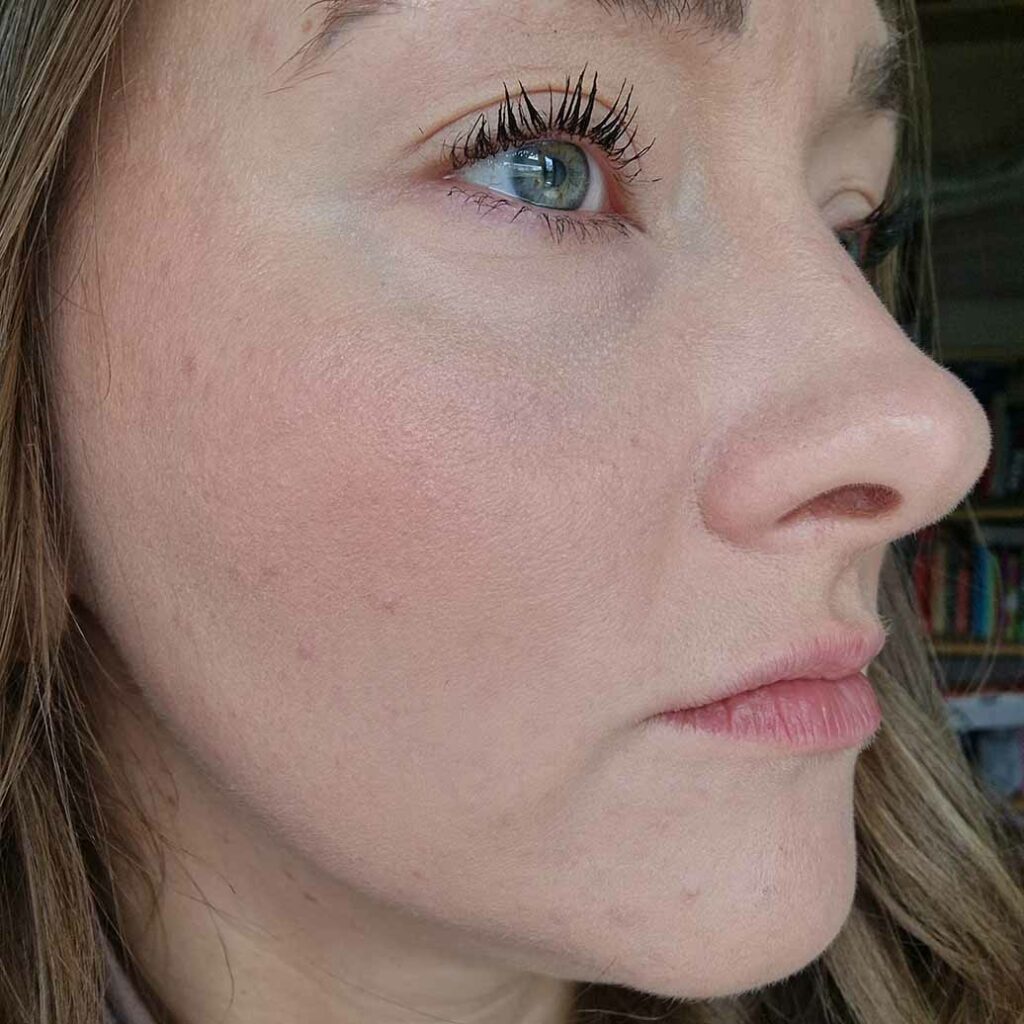
Here I am applying Il Makiage foundation with a beauty blender:
Buy the 100 brush from Il Makiage here for £38 (use code ‘welcome10’ for 10% off) and here’s the Il Makiage foundation. I’ve been using both for years and I’d highly recommend them.
How do you clean the blender and brush?
I use ISOclean Cleaner to clean my brushes and I put the beauty blenders in my washing using a mesh bag I talk about below. I have 3 foundation brushes in total, and about 7 beauty blenders, so I always have others to use when some are being cleaned.
After using either a brush or beauty blender for a max of 4 times or if it’s over a week, I then wash it. Bacterial build-up on your skin transfers to them, so you really don’t want to be using dirty tools on your face.
Some people don’t like putting beauty blenders in their clothes wash due to the fabric wash/conditioner, but I don’t mind it and haven’t noticed any skin problems. I put the blenders in a mesh bag from Amazon in the washing machine, so they don’t go missing, then simply hang it up to allow them all to dry. I use these mesh bags (30cm X 40cm) from Amazon for £4.99 for 2. They work for other things too, like socks or bras etc – anything you don’t want to lose in your washing!

Thank you for reading my article. I wrote it in July 2023 and last updated it in March 2024. It's tagged with the category Make up if you'd like to read more.
AD: #ad Some of my blogs include affiliate links where I get paid when you click through and buy. This doesn't increase the cost you pay. My blogs are my point of view and experience. I don't promote anything I don't like or believe in.

