I felt sorry for my previous necklace holder. It was buckling under the pressure. The effort needed to separate each necklace was becoming such a pain.
Instead of buying new display, I wanted to make one from excess wood from our garden (RIP bench). I looked on Pinterest at examples I liked then decided to go for it. I’ve only made one but figured I’ve learned a few tricks and tips that might be useful to other fellow crafters deciding to take on this challenge.
You will need:
- Wood
- Practice wood
- Paint
- Paint brush
- Saw
- Sand paper
- Peg
- Screws to hold necklaces
- Drill with small drill bit
- Adjustable spanner
- Tea towel
- Hammer
- Nails
- Ribbon
1. Prepping your wood
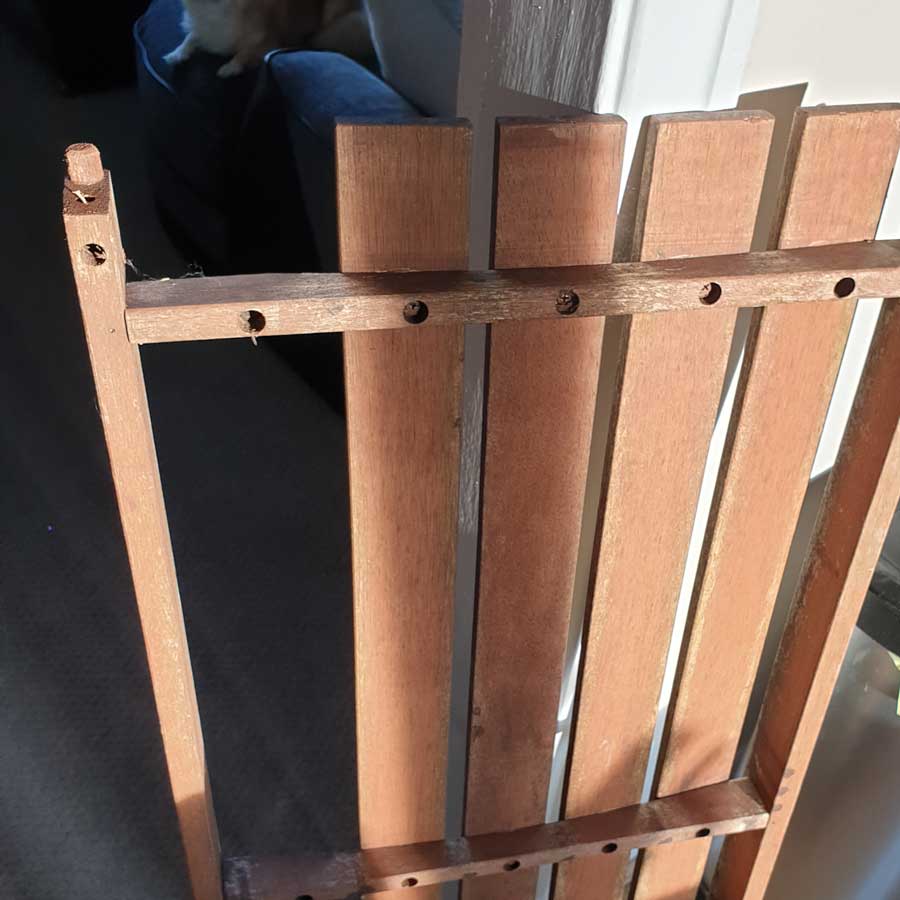
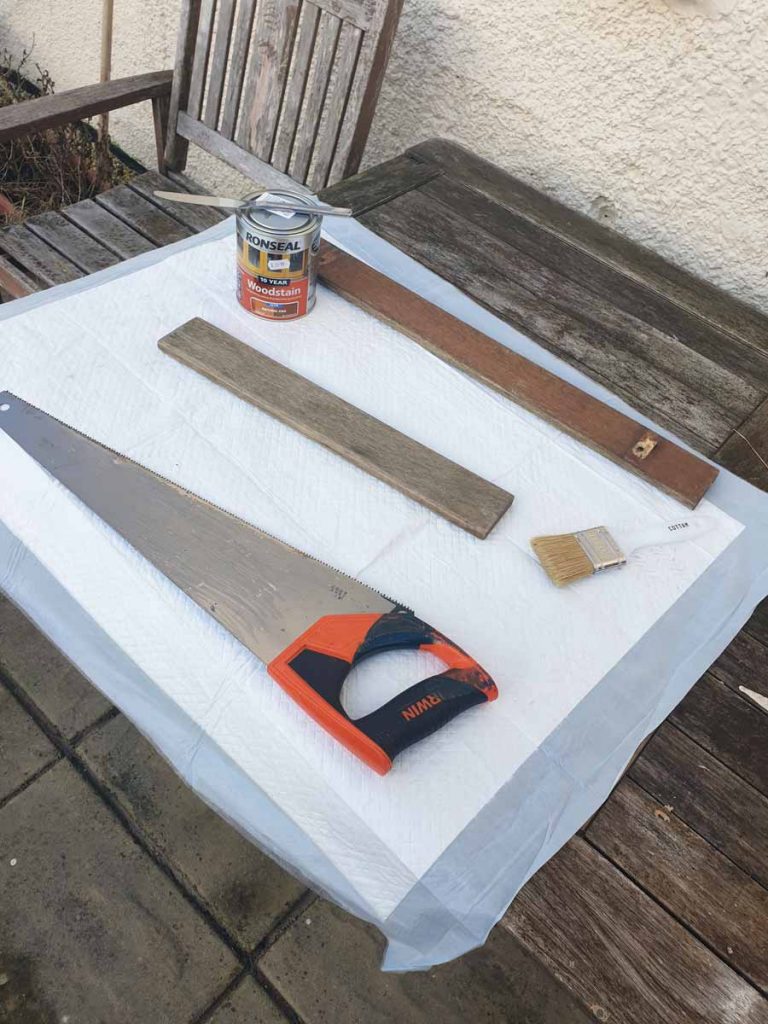
You need to prep your wood (!) I used a piece from a garden bench that had fallen apart.
I sawed it down to size, then used sand paper to file the sawed edge plus the rest of it. Filing each side gets any dust/dirt off it so paint stays on better and is smooth.
2. Paint the wood
Paint the wood in several thin coats. Don’t whack a thick coat on or it’ll run and you’ll have blobs running down the sides (not nice).
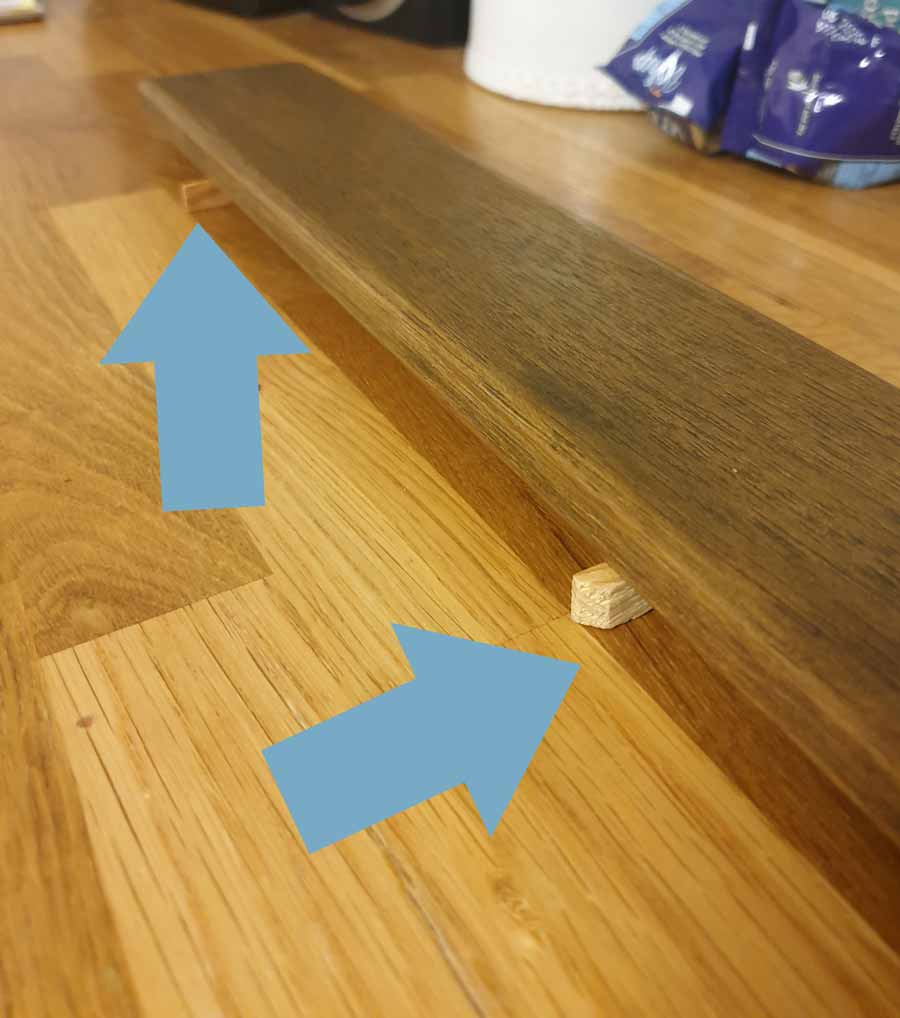
TIP: use a peg halved to prop up the wood on the underside which minimises smudges. If you leave the wood after painting on newspaper, that newspaper will stick (not nice).
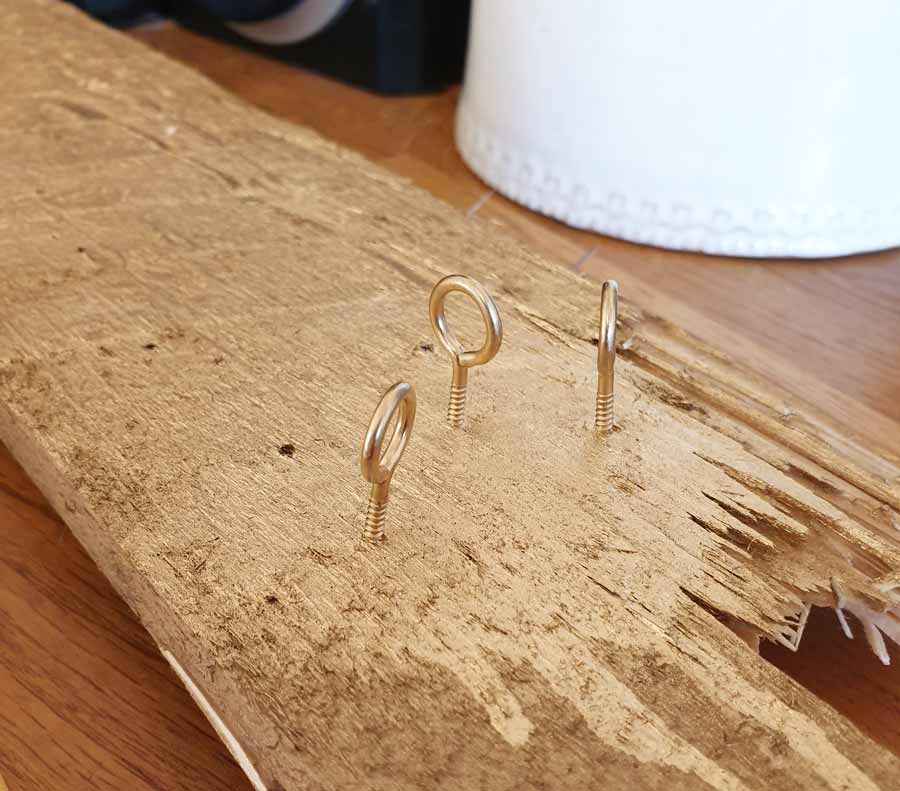
3. Prep the hooks
I wanted matching gold hooks so on a practice piece of wood, I screwed them all in slightly and went to town (outside) with the paint. Due to the hooks being shiny, I had to go over bits twice (and again at the very end, you’ll see why!)
4. Measure where your hooks will go
I know from experience you just want to get cracking but make sure you measure up properly where your hooks will go before you drill any holes.
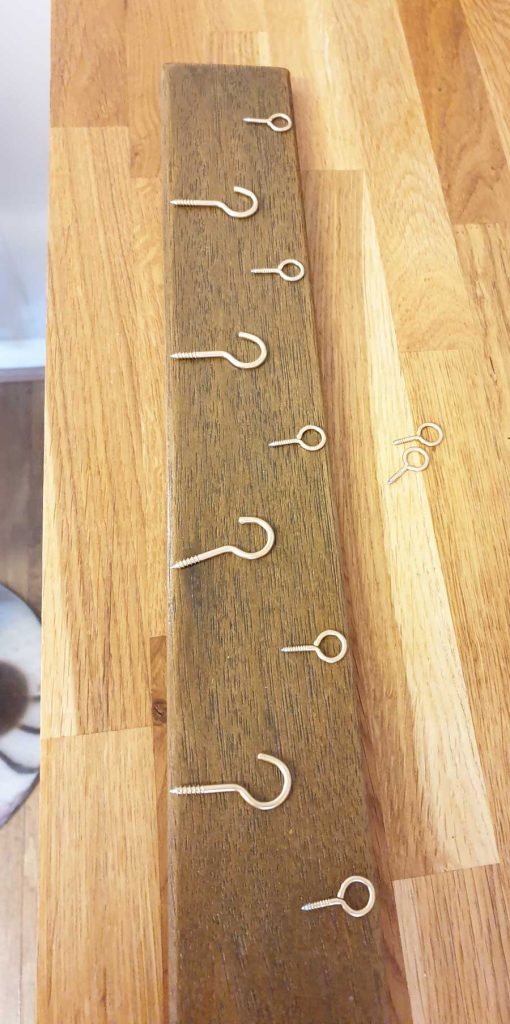
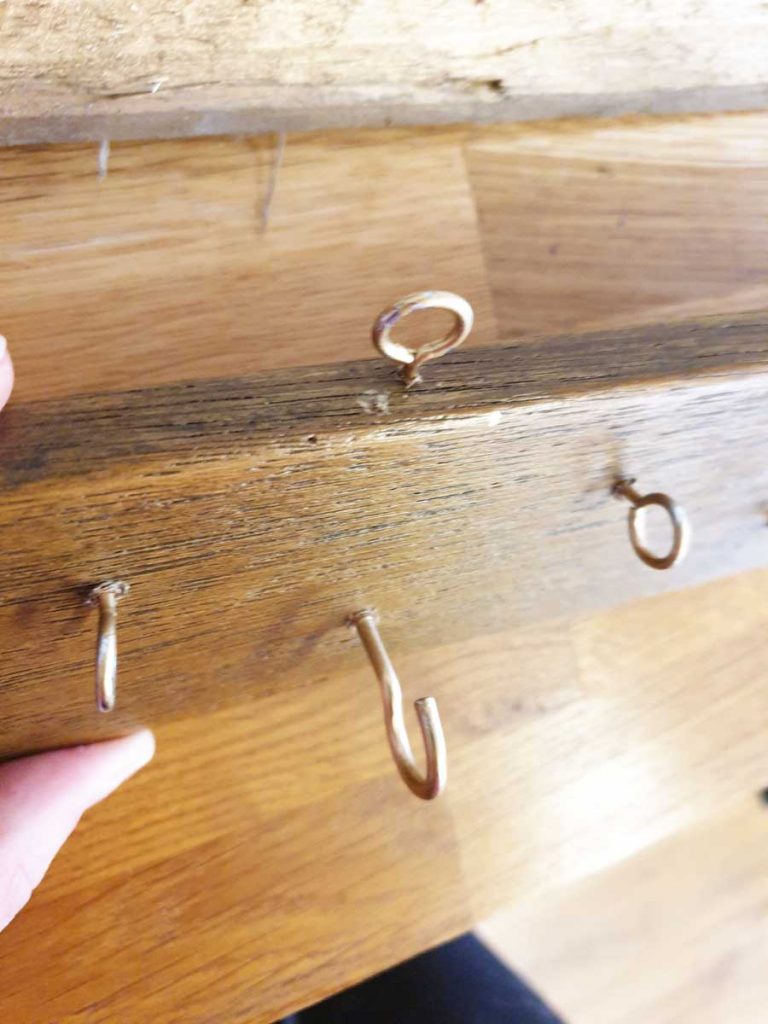
I decided to have 4 larger hooks on the bottom for larger, heavier necklaces – and smaller ones above in a zig zag (so my necklaces won’t hit each other).
5. Add the hooks
This was the most time-consuming bit. Little did I know that they just wouldn’t be screwed into the wood with brute-force alone.
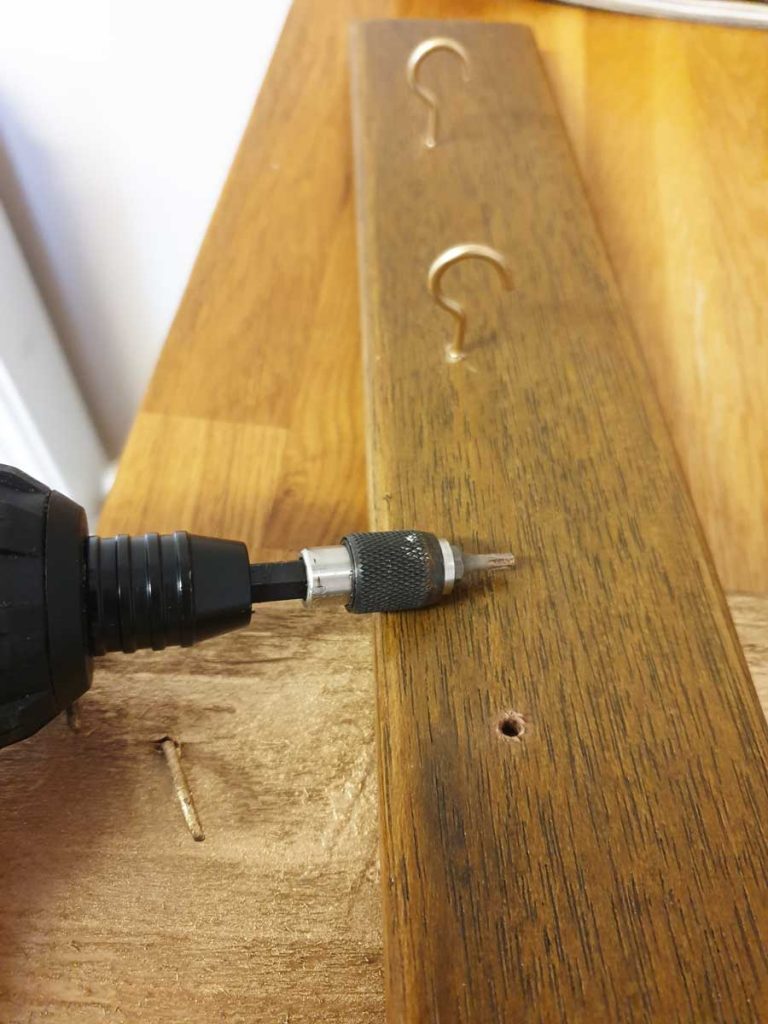
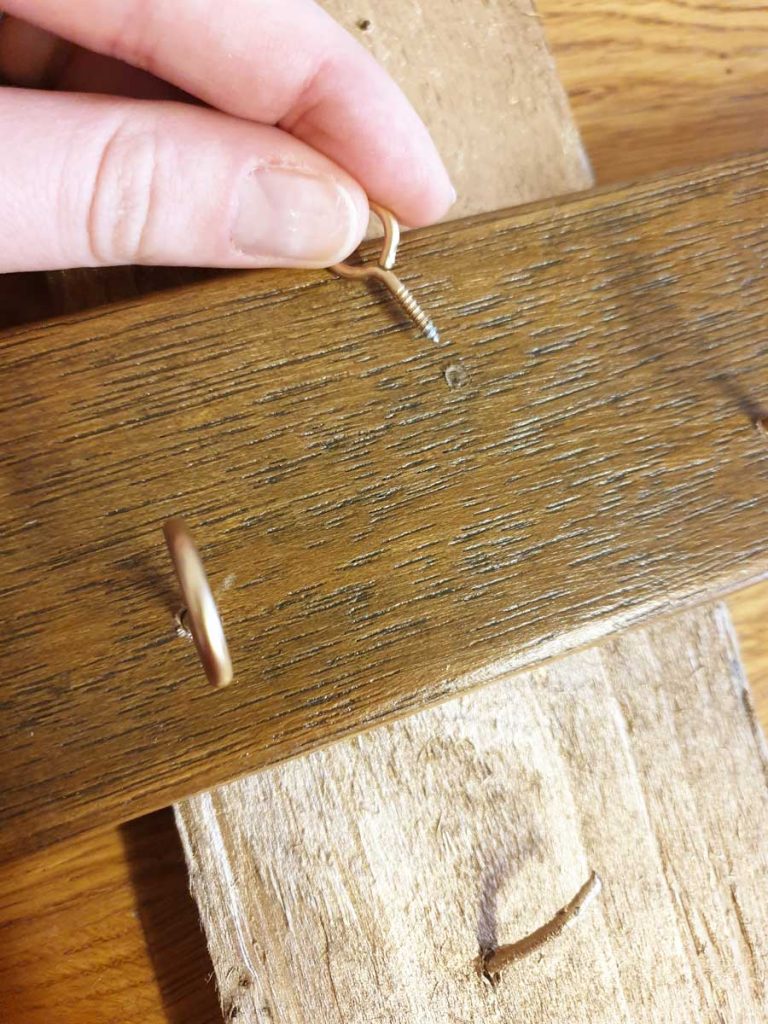
I used a drill with the smallest drill bit to start off the hole for me, making sure the hook was bigger (don’t drill a hole bigger or the hook simply won’t stay in) then screwing the rest in just with my hand.
The smaller hooks were smaller than the drill bit so I wasn’t able to drill as far in like I did with the bigger hooks – because they’d just fall out. I used the drill to start me off – perhaps 2-3mm then with brute force I screwed them in.
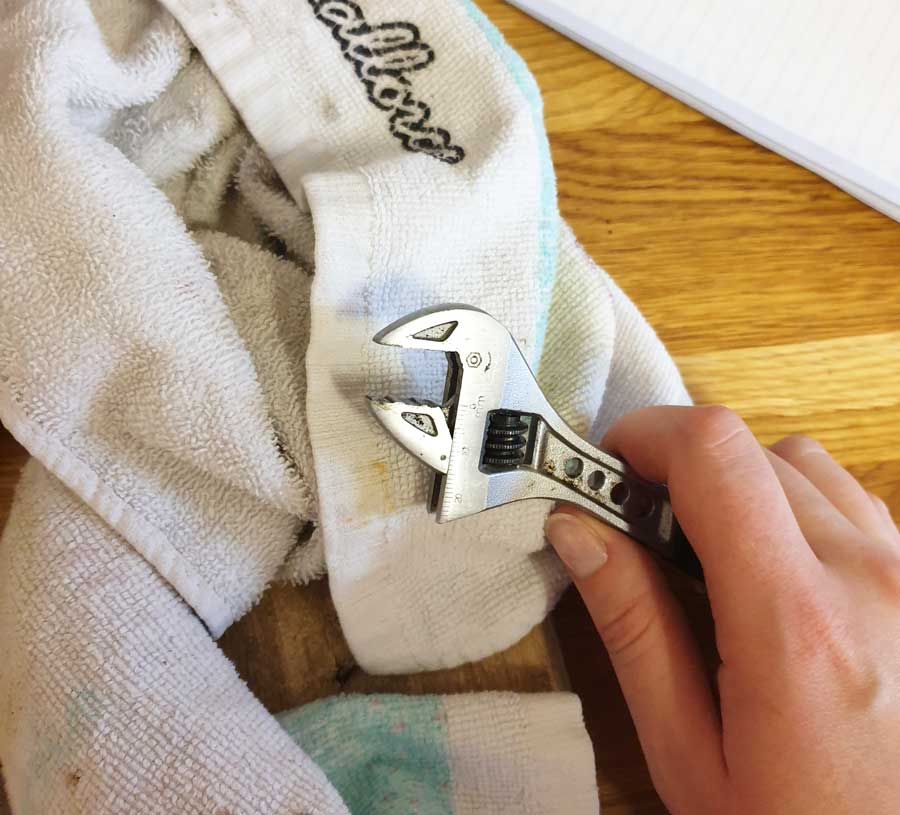
Towards the end when it was getting hard, I used a spanner to help.
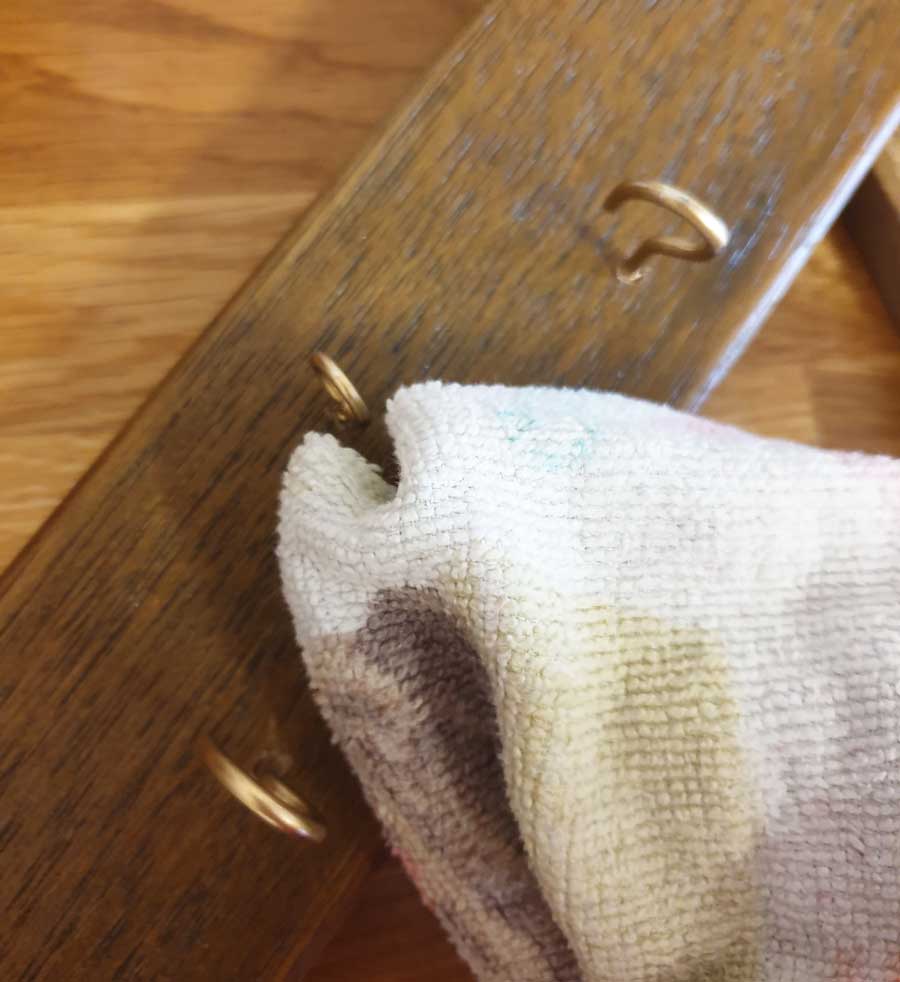
TIP: when using the spanner make sure you put something BETWEEN the spanner and the hook, especially if you’ve painted the hook. I didn’t for the first one and it took some of the paint off. After that I used a tea towel to protect the hook.
Make sure your hooks are straight and facing the right way.
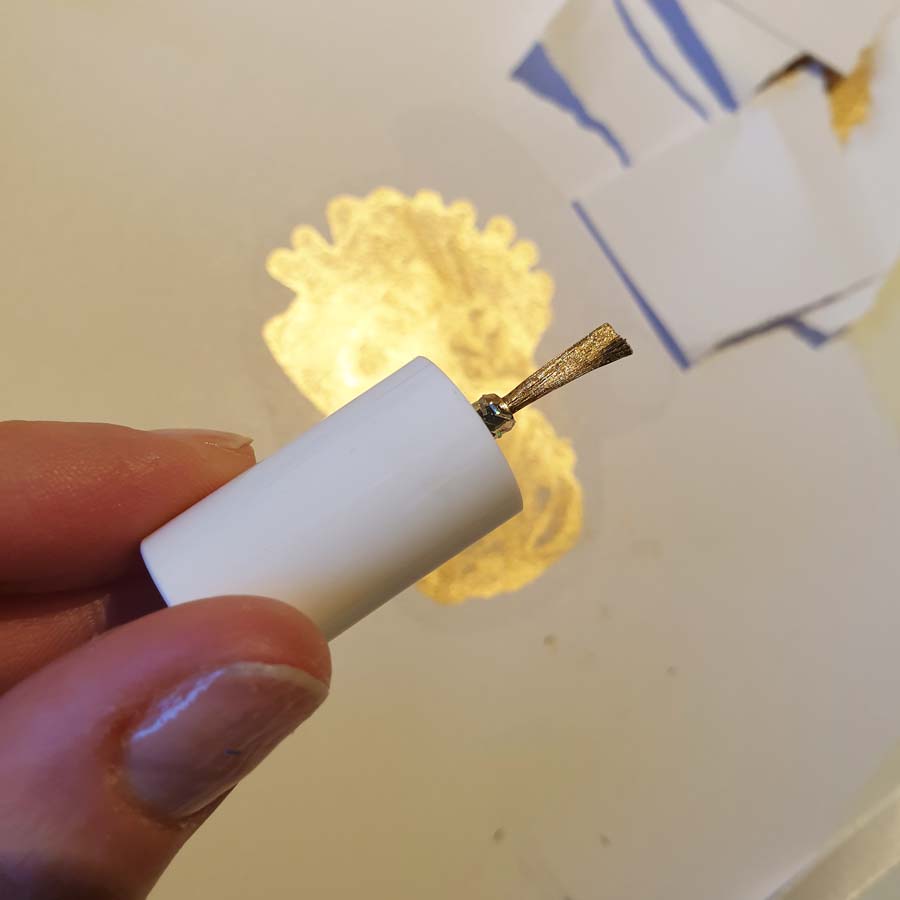
It was at this point I needed to apply more paint to the hooks after the spanner took some of it off. I sprayed a piece of paper then with a used/clean nail varnish applicator, carefully repainted the hooks.
6. Decide how you are putting it on the wall
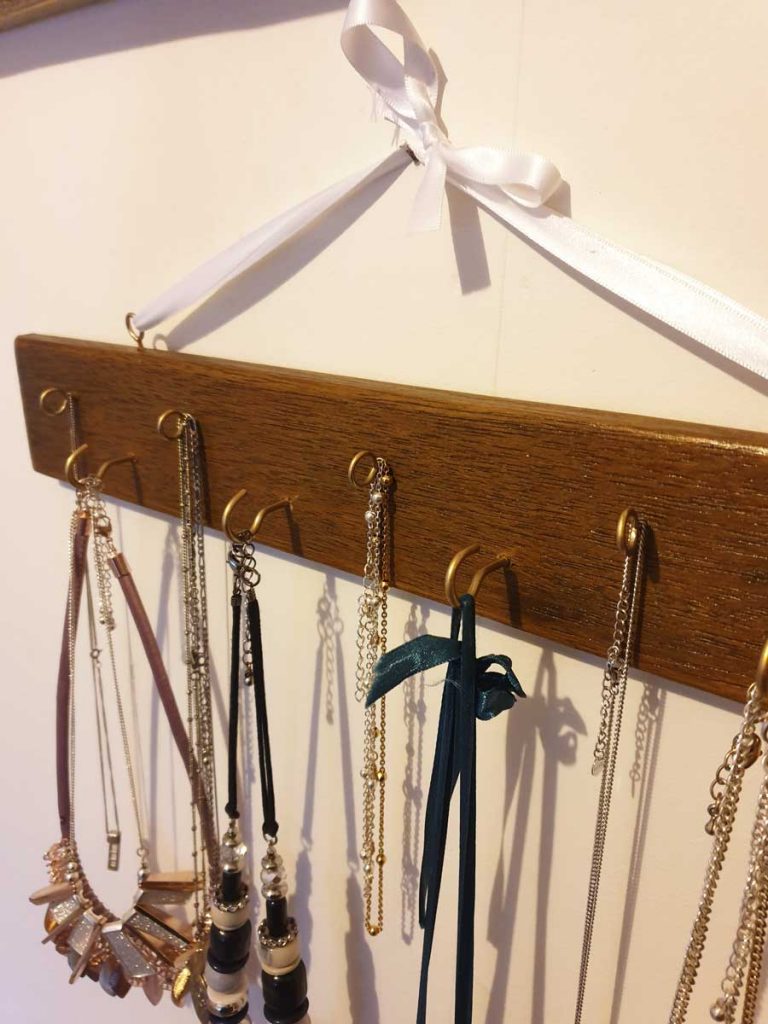
I wanted to use ribbon so I used 2 small hooks on the top edge with ribbon, lined up with the larger hooks.
One problem with this is it’s on a tilt so I’ve had to arrange my necklaces by their weight. Too much weight on one side will make it uneven. I’ve fixed this by adding 2 small nails underneath – just something to be aware of.
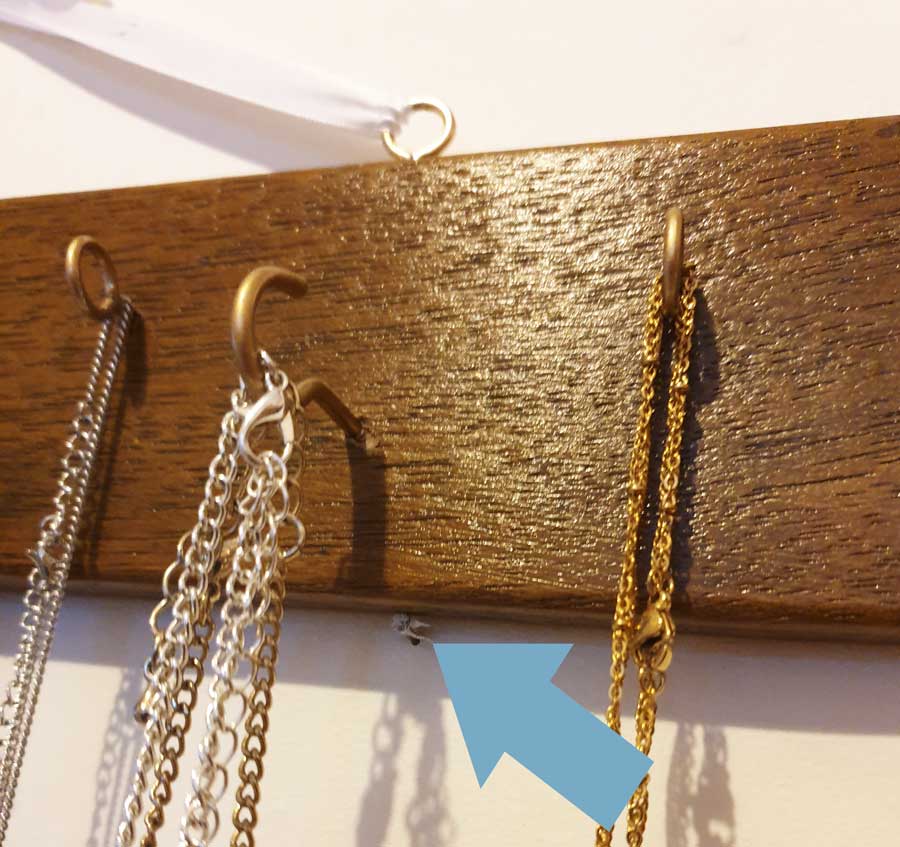
I used a small nail to hold the holder to the wall behind the ribbon. As the weight isn’t much, I figured this would be okay. If you have heavy things then you might want to look at alternative ways.
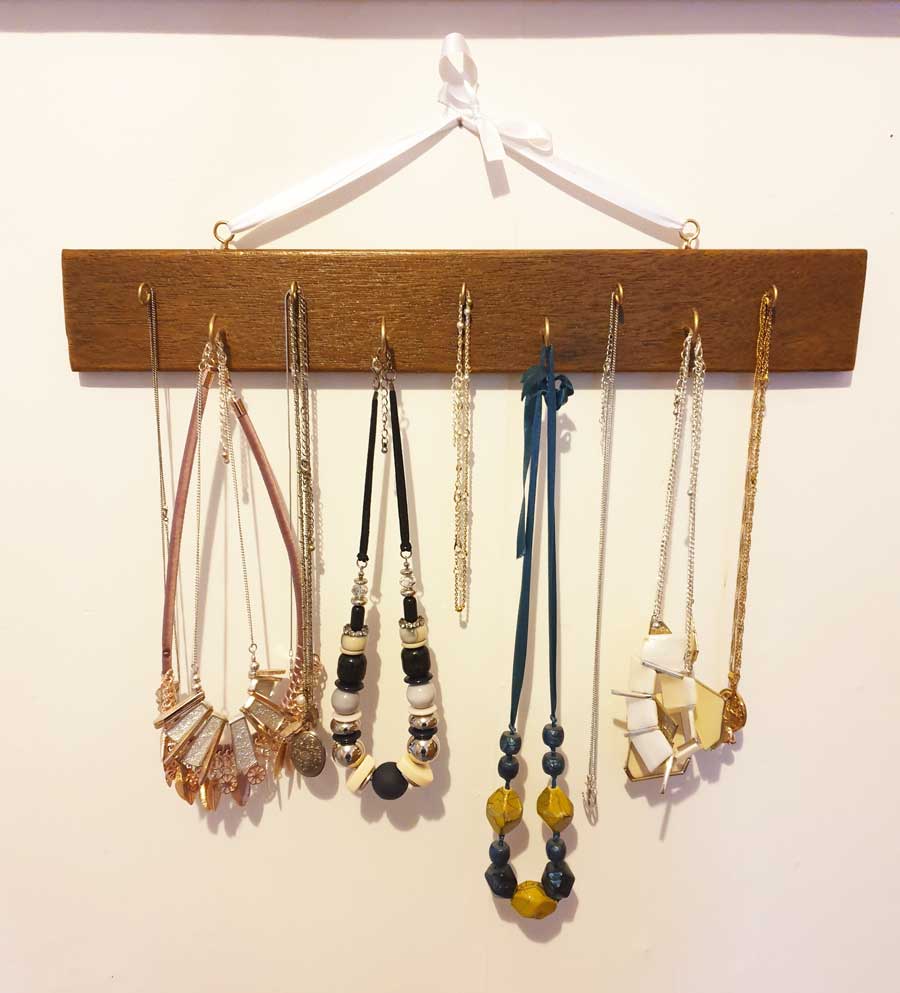
The finished project
And there you have it. A DIY wall necklace display holder! I made this within a few hours (doing other things whilst the paint dried). I hope you’ve found this useful. Get crafting!

Thank you for reading my blog! I wrote it in January 2020 and last updated it in September 2020. It's tagged with the category Crafting or DIY if you'd like to read more.
AD: #ad Some of my blogs include affiliate links where I get paid when you click through and buy. This doesn't increase the cost you pay. My blogs are my point of view and experience. I don't promote anything I don't like or believe in.